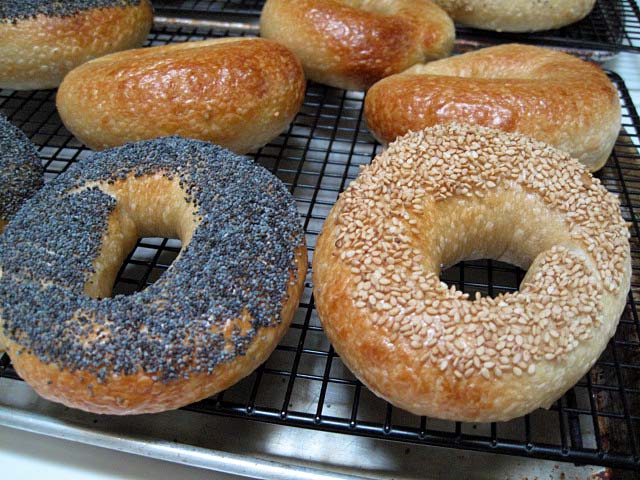
Those of you who have been following the forum have noticed the frequent posts on Bagels of all kinds. I have been experimenting with toppings and flavoring myself. Lumos has her beautiful WW bagels displayed on the front page. There has been much written about how firm/dense bagel dough is and warnings about not over heating our mixers by too large of loads or repeated batches. I decided to try Mike Avery's Sourdough Bagel recipe as written in his book "Back to Bagels" but instead of using a Kitchen Aid or my DLX mixers, I would do the entire mixing and kneading development process by hand. Mikes basic recipe includes a small amount of olive oil which makes the crumb softer and easier to chew. Of all the bread theme books I own, Back to Bagels is the very best value at $5 for the PDF form and I would say the most comprehensive book on the subject. I highly recommend the book for new and old timers alike. Mike details 8 different bagel flavors and how to prepare them. If you like blueberry bagels, spring for the $5. book and try the sourdough version. Utterly delicious!
Let me say I didn't expect to be able to easily develop the dough to a nice window pane condition, using only my hands. With all we have all learned about how time will do what we used to beat into the dough, I doubted a 56% hydration dough would stretch and fold well enough to do the job.--I was wrong. Here are the photos in evidence.
I apologize for the lengthy number of images. The idea of hand mixing and kneading bagel dough is so novel I thought some of you might like to try it. Since it is almost entirely a matter of technique, I thought the photos would answer most questions and encourage people to try this simple and gratifying process.
I'll post the recipe for these as soon as I hear back from Mike. Enjoy! Recipe now added courtesy of Mike Avery. This is just the recipe. The mixing and shaping techniques are described in detail in the book. There is a selection of other bagel recipes, each one delicious. Here is a link to the entire Bagel section which goes into much more detail about the process. It's a good read for anyone just learning about sourdough and bagels.
Eric
Sourdough Plain Bagels
These are a simple bagel, the same bagel that I featured in section 4, but with a larger batch size. This bagel is the basis for all of our bagel recipes.
Ingredients:
6 bagels 12 bagels Ingredient
230 grams 460 grams Water
8 grams 16 grams Light Olive Oil
45 grams 90 grams Sourdough Starter
450 grams 900 grams High Protein Bread Flour
10 grams 20 grams Salt
15 grams 30 grams Malt Powder
Mix the ingredients, and allow to rise about 2 hours, or until they are ready. Cut into 6 or 12, 120 gram pieces, round or roll into cigars, cover and let rest 30 minutes. Do final bagel shaping, put them on a baking sheet covered with parchment or Silpat, oil, cover, give them an hour of
floor time, and then refrigerate them for 12 to 24 hours. Boil in malted water, seed if desired, and then bake at 500F for about 15 minutes.
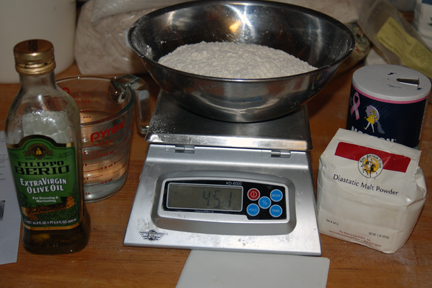
Mise en Place

All in the bowl, ready for the spoon.

Started with a spoon and switched to the plastic spatula to incorporate this dry dough.

After a minute of scraping and turning , still some dry flour at the bottom.
This is where you could be tempted to add additional water. Fear NOT. It will eventually be fine.

It took a mere 2 minutes to get to this point. All flour is incorporated and the dough is one mass.

I hand kneaded just long enough to be sure there were no lumps of dry dough. You can see the mass is lumpy and not smooth at all.

Dough is now resting for 20 minutes covered with an expensive shopping bag.

Now rested, on to the first stretch and fold. There were 3 S&F's in 20 minute increments.
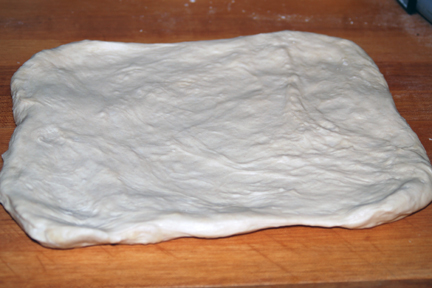
The second stretch. It teases out easily and letter folds nicely. Now getting smooth.

This is after the 3rd S&F. Dough is smooth and silky if firm. Quite impressive for a firm hand mixed dough.

I was able to tease out a nice window pane. It doesn't show well in this photo but I could see my finger through the membrane. The time since first mixing the dough is now 1 hour and 20 minutes.

All the dough is spread out on the counter ready to be divided into squares this size and shape.
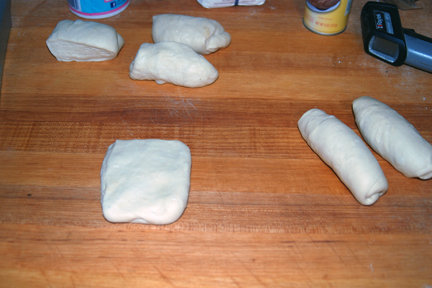
Each 125g piece is flattened into a square/rectangle and tightly rolled into a log as a pre shape.
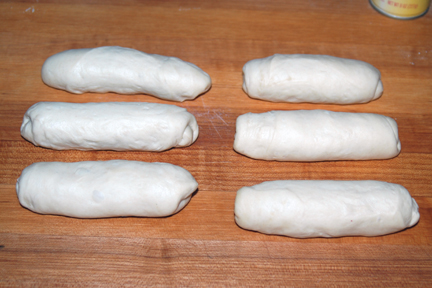
Ready to rest and roll.
Resting under plastic.

Rolled log, about to be wrapped around 3 of my fingers. Hand for scale.
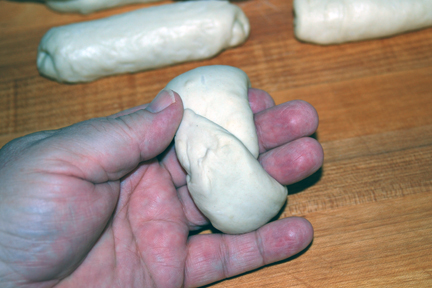
Notice blunt ends are overlapped. When you roll the joint on the counter, it spreads out and becomes even or the same thickness all around the ring. (at least that's the idea)

Stretch the inside out gently or it will close up later. I usually go back and open the ring again before the fridge.

This is a half batch. Just the right amount for a small family for a couple days.
The recipe calls for 1 hour bench time after shaping and before refrigerating. The one hour is allowing the dough to warm to room temp and begin to wake the yeast. Depending on your starter, the room temp and how much gas was produced during the ferment yesterday, your bagels may or may not float test at this point. Try floating one in cool water. If it floats go ahead to the next step of boiling. If not wait another 15 to 30 minutes and try again.

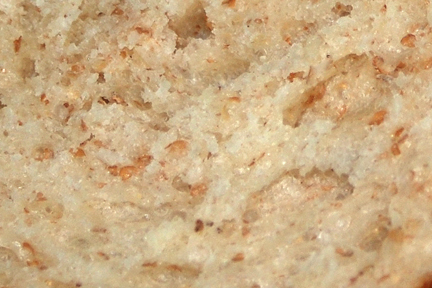
Here are my first 3 bagels sitting on the bottom. They had not proofed long enough. The next 3 did float. You can see in the crumb photo that the crumb is dense and not as open as I would like. The float test will prevent this happening.
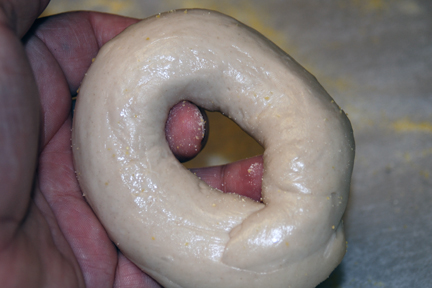
This image is out of order. I am holding a cold dough ring about to drop it into the boiling malted water.

Out of the hot and into the ice water. Still not floaters.

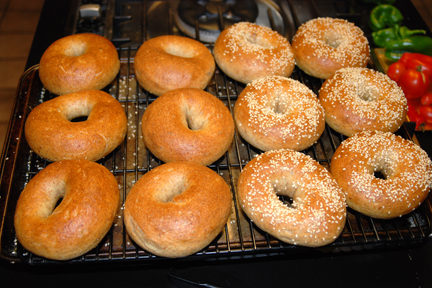
One seeded and two plain on the board, ready for baking.
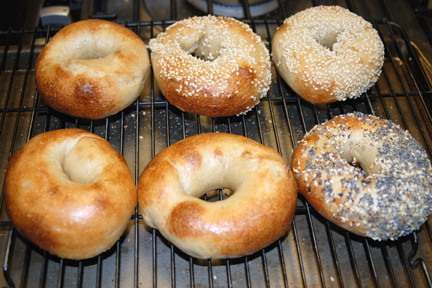
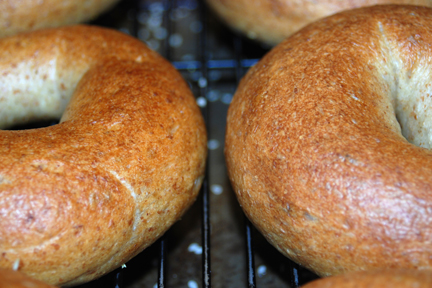
Done baking. They are a little blotchy to my eye. i was trying to cook them more blond this time.
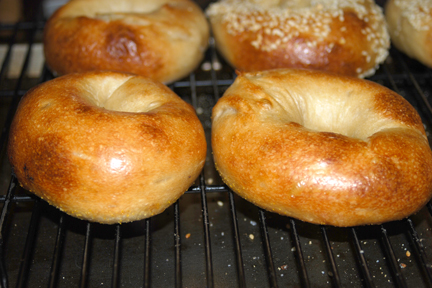
A better close up I think.

The crumb is just barely done and slightly dense. Never the less quite delicious. Next time I'll add 1 minute to the 15 minute baking time.

My breakfast this morning, plus a cup of strong, black coffee.


